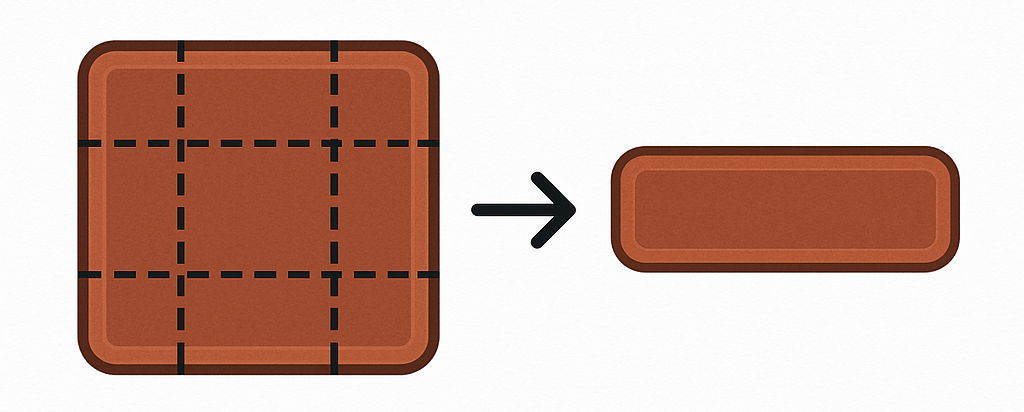
Nine-Slicing and Tiling
Nine-slicing preserves a texture's corners and borders while stretching its center. Tiling repeats a texture instead of stretching it.
Nine-Slicing Support
| Area | Supported targets |
|---|---|
| Widgets | Button and Slider textures; global button and slider styles |
| Images and panels | Image elements |
| Progress Bars | Fill and background textures |
| Tooltips | Custom background textures |
Configuring Nine-Slicing
- Set the target texture.
- Enable its Nine-Slice option.
- Set the border sizes to match the fixed edge area in the source texture.
- Resize the element and adjust the border values if the corners or edges distort.
Button and Image settings use X/Y border sizes. Progress Bars and Tooltips expose separate edge values where needed.
Tiling Support
Repeating textures are available for:
Enable Repeat Texture on an Image element or Image background. For scrollable screens, use the repeat options in the header/footer customization menu.
Use a seamless source texture; mismatched edges create visible lines between tiles.
Nine-slicing and repeating are separate modes. If both options are shown for a target, choose the one that matches the intended scaling behavior.